I am using Excluder Gourds from PMCA. I first took the access cap off and drilled a 2" hole in the center with a forstner bit. I also drilled 4 mounting holes for #10 screws.

The next step was to obtain a 4" PVC sewer and drain cap and drilled corresponding holes in it. I put silicone sealant between the two and clamped together with #10-32 screws and nuts.

Next, I got a 4" PVC DWV Cap which I found slips neatly over the drain cap. I drilled a hole in the top of the cap and used a #10-32 3/4" bolt and rubber washer to attach one of my HawkEye HD cameras from Birdhouse Spy Cam to the top of the cap. I played with the orientation of the camera on its mount so that I could tip the camera down slightly and still have the lens roughly centered. Another 3/4" in hole in the side of the cap allows the wires to route out. All of the cable connections are pushed back into the cap.

This the view from inside the gourd with with two pieces slipped together.

The first assembly simply screws back onto the gourd. At the point that it was snug, I marked the lower edge and cut a slot for the wires to pass. It did not need to be this large. I can leave this in place to do a quick visual check.

The camera portion slips over with wires exiting at the bottom.

Because of the way the Excluder Gourd mounts to the rack, it is only free to swing front to back. As such the extra weight of the PVC caps does not change the orientation much. Otherwise, this system would not have worked. I tied the cable along the owl guards and let it drop down parallel to the hoisting cord.

I modified the snake guard to add an extra pass-through hole.

and ran both cord and cable through the raccoon baffle.

Finally, here is a full resolution image of the nest in daylight. The field of view nicely spans most of the nest including the entrance porch on the left and the egg cavity on the right.

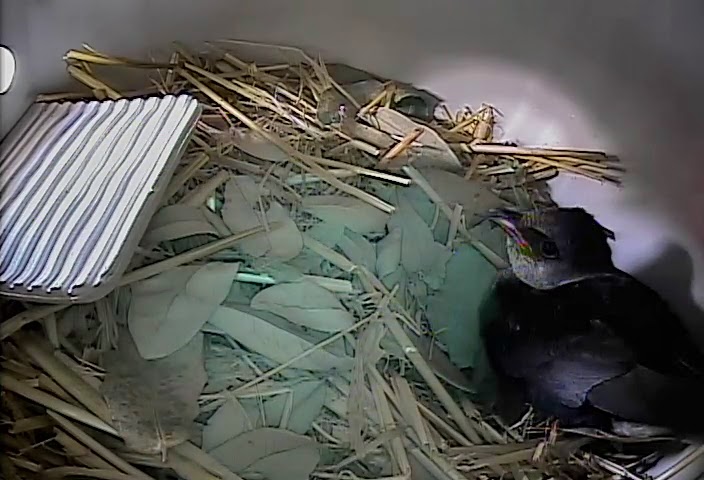
This is a shot of the female shows the IR LED turned on and casting a greenish illumination in the center and true daylight illumination in the periphery.
This final image at 8:30 is illuminated only by IR LED with negligible daylight left.

Everything was in place just in time for hatching which started early on Sunday evening, June 19.
No comments:
Post a Comment
Relevant comments and questions are welcome but submissions with spam-links will not be published.